準備
(なし)
デザイン
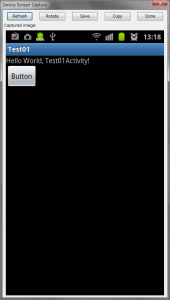
1. main.xml にボタン (button1) を配置します。
サンプルコード (Java)
package com.test.test01;

import android.app.Activity;
import android.content.Intent;
import android.os.Bundle;
import android.view.View;
import android.view.View.OnClickListener;
import android.widget.Button;

public class Test01Activity extends Activity implements OnClickListener {

  private Button b1;

  /** Called when the activity is first created. */
  @Override
  public void onCreate(Bundle savedInstanceState) {
    super.onCreate(savedInstanceState);
    setContentView(R.layout.main);

    b1 = (Button)findViewById(R.id.button1);
    b1.setOnClickListener(this);
  }

  public void onClick(View view) {
    Intent intent = new Intent(Intent.ACTION_SEND);
    intent.setType("text/plain");
    intent.putExtra(Intent.EXTRA_TEXT, "Hello, World!");
    startActivity(Intent.createChooser(intent, "どれで送りますか?"));
  }
}
解説
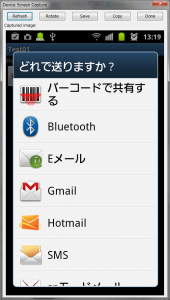
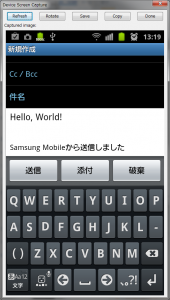
INTENT を使用して、メッセージ送信できるアプリケーションに処理を依頼しています。メッセージ送信できるアプリケーションが複数あれば、アプリケーションの選択画面が表示されます。一般的には、メッセージ送信に対応したアプリは、メール、Google ドキュメント、Twitter など複数あります。


