準備
(なし)
デザイン
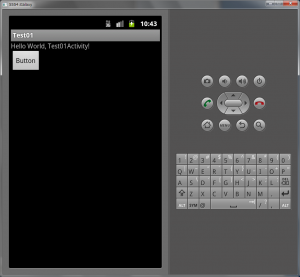
1. main.xml にボタン (button1) を配置します。
サンプルコード (Java)
package com.test.test01;

import java.util.Locale;
import android.app.Activity;
import android.view.View.OnClickListener;
import android.os.Bundle;
import android.speech.tts.TextToSpeech;
import android.speech.tts.TextToSpeech.OnInitListener;
import android.view.View;
import android.widget.Button;

public class Test01Activity extends Activity
  implements OnClickListener, OnInitListener {
  private TextToSpeech Speech;
  private Button b1;

  /** Called when the activity is first created. */
  @Override
  public void onCreate(Bundle savedInstanceState) {
    super.onCreate(savedInstanceState);
    setContentView(R.layout.main);

    Speech = new TextToSpeech(this, this);
    b1 = (Button)findViewById(R.id.button1);
    b1.setOnClickListener(this);
  }

  public void onDestroy() {
    super.onDestroy();
    Speech.shutdown();
  }

  public void onClick(View view) {
    Speech.speak("Hello, my name is Hanako Yamada.", TextToSpeech.QUEUE_FLUSH, null);
  }

  public void onInit(int status) {
    Speech.setLanguage(Locale.ENGLISH);
  }
}
解説
TextToSpeech を使用して、テキストを読み上げています。
TextToSpeech に使用するイベントリスナーの概要は次の通りです。
- インターフェース : OnInitListener
- イベントオブジェクトとリスナーオブジェクトの関連付け : Speech = new TextToSpeech(this, this);
(第 2 パラメータがリスナーオブジェクト) - リスナーオブジェクト : this (Test01Activity クラス)
- リスナーオブジェクト : onInit
